

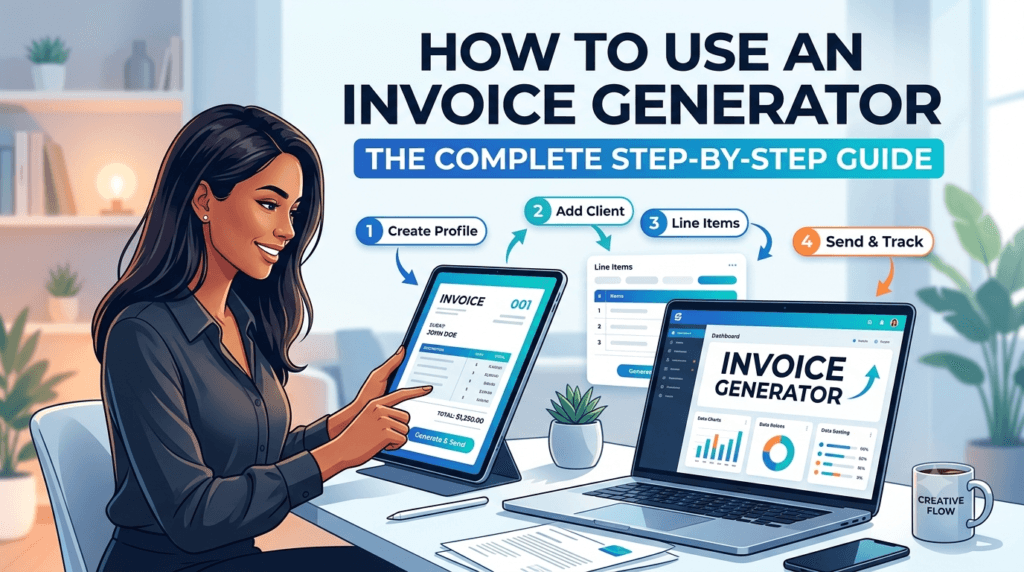
How to Use an Invoice Generator: The Complete Step-by-Step Guide
A field-by-field walkthrough for filling out an online invoice generator correctly the first time — what each box actually means, which details clients and accountants expect to see, and how to go from a blank form to a downloaded PDF in a few minutes.
To use an online invoice generator: open the tool, enter your business details and your client’s details, add one line per product or service with its quantity and rate, set your invoice number and due date, add tax or a discount if needed, upload your logo, then preview and download the finished document as a PDF. Most people finish in under five minutes without creating an account.
Most people don’t struggle with the idea of invoicing — they struggle with the blank form in front of them. Which box goes where? Does “quantity” mean hours or units? Do you type the tax rate as “8” or “0.08”? An invoice generator removes the guesswork of formatting, but only if you know what each field is actually asking for. This guide walks through the Toolriz invoice generator field by field, in the order you’ll actually fill it out, so you can go from a blank page to a sent invoice without second-guessing a single entry.
Before You Start: What You’ll Need
You don’t need an account, a template, or any special software to follow along — just have these five things ready before you open the tool, so you’re not hunting for information halfway through:
- Your business or freelance name, plus an email and phone number your client can reach you at.
- Your client’s name and billing address, exactly as they gave it to you in your contract or agreement.
- A short description of each product or service you’re billing for, along with the quantity and rate for each.
- Your payment terms — for example, “due in 15 days” or “due on receipt.”
- Your logo file, if you want one on the invoice (PNG or JPG both work fine).
Step-by-Step: Filling Out the Invoice Generator
Enter your business details
Start with your name or business name, address, email, and phone number. If you invoice under a business name that’s different from your legal name, use whichever one appears on your bank account or payment processor, so the invoice matches where the money actually needs to land.
Add your client’s information
Enter your client’s name, their company name if they’re billing through a business, and their billing address. If you’re not sure whether to use a personal or company name, check the name on your signed contract or statement of work — that’s the name their accounting system will be looking for.
Assign your invoice number and set the dates
Give the invoice a unique number, then set the issue date and due date. If this is your first invoice, start at something simple like INV-001. If you’re not sure how far along your numbering should be, check your last sent invoice rather than guessing — a skipped or repeated number is one of the more common small errors that complicates bookkeeping later.
Add your line items
This is the section clients read most closely. For each product or service, add a short, specific description, a quantity, and a rate. The generator multiplies quantity × rate automatically to produce each line total, and adds those line totals into a running subtotal — so you never need to do the arithmetic yourself.
Keep descriptions specific rather than generic. “Homepage redesign — 6 hours” tells a client exactly what they’re paying for; “Design work” invites a follow-up email asking what it covers.
Add tax, discounts, and payment notes
If your work is subject to sales tax in your state, enter the tax rate as a percentage and the tool will calculate it against your subtotal. If you’re offering a discount — for a repeat client, a referral, or an early-payment incentive — enter it as either a flat amount or a percentage, whichever the tool supports. Use the notes field to state how you’d like to be paid (bank transfer, check, a payment link, and so on).
Upload your logo and check the layout
Upload your logo if you have one — most generators place it automatically in the header. If your logo has a transparent background, it will usually blend into the invoice more cleanly than one with a solid white or colored background that doesn’t match the template.
Preview, download, and send
Before downloading, scroll through the preview and check three things: that the subtotal, tax, and total all add up correctly; that your client’s name and address are spelled exactly as they gave them to you; and that the due date matches the payment terms you agreed on. Then download the PDF and attach it directly to an email to your client, rather than sending it through a public or shareable link if it contains sensitive billing details.
Typical Time to Create One Invoice
*Accounting software time only reflects creating one invoice after the account, tax rates, and client list are already set up. General estimate based on common user-reported ranges, not a formal study — your own time will vary with invoice complexity.
Every Field, Explained in Plain English
If you’ve ever paused on a field wondering what it actually wants from you, this reference covers the ones that trip people up most:
| Field | What it means | Example |
|---|---|---|
| Invoice number | A unique ID for this specific invoice, never reused | INV-014 |
| Issue date | The date you’re sending the invoice, not the date you did the work | 07/30/2026 |
| Due date | When payment is owed, based on your stated terms | 08/14/2026 (Net 15) |
| Quantity | Hours, units, or sessions — whatever you’re billing per, expressed as a number | 6 (hours) |
| Rate | Your price per single unit of quantity, before tax | $85.00 / hour |
| Subtotal | The sum of every line total, before tax or discount | $510.00 |
| Tax rate | Your state’s applicable sales tax percentage, if any | 0% (most services) |
| Total due | Subtotal, plus tax, minus any discount — the final number your client pays | $510.00 |
The Invoice Generator Workflow, Start to Finish
Six fields, one PDF. There’s no required order beyond “your details before your client’s” — the generator recalculates totals live as you go, so you can jump back and edit any step before downloading.
Common Mistakes When Using an Invoice Generator
Most invoicing delays don’t come from difficult clients — they come from small, avoidable errors in the invoice itself. Here’s what to double-check before you hit download:
Leaving the invoice number blank or reusing one. Even in a simple generator, an empty or duplicate invoice number makes it harder for both you and your client’s bookkeeper to track what’s been paid.
Typing the tax rate as a decimal instead of a percentage (or vice versa). Entering “0.08” when the field expects “8” can either zero out your tax line or inflate it by a factor of 100 — always check the calculated tax amount before downloading.
Skipping the due date field entirely. An invoice with no due date reads as “whenever is convenient” to a client, even if that’s not what you meant.
Bundling multiple deliverables into one line item. “Project work — $2,400” invites a clarifying email. Splitting it into individual, described line items rarely does.
Not previewing before downloading. The preview screen is where typos in a client’s name, an extra zero in a rate, or a mismatched date get caught — skipping it means catching them after the invoice is already in your client’s inbox.
Choosing the Right Payment Terms in the Generator
Most invoice generators let you either type a custom payment term or choose from a short list like Due on Receipt, Net 15, or Net 30. If you’re unsure which to pick, Net 15 is a reasonable default for individual clients and small businesses, while Net 30 is closer to what larger or corporate clients expect as standard. For a full breakdown of how these terms work and when to use each one, see our related guide on how to invoice as a freelancer.
Using the Invoice Generator on Your Phone
Because the tool runs in a browser rather than a downloaded app, it works the same way on a phone as it does on a laptop — useful if you’re wrapping up a job on-site and want to send the invoice before you’ve even left. The main difference is screen space: on a phone, fields stack vertically instead of sitting side by side, so it can help to fill in line items using landscape orientation if you’re adding several at once. Everything you enter, including your logo and totals, carries over identically to the downloaded PDF regardless of which device you used.
Troubleshooting Common Issues
The PDF won’t download
This is almost always a browser pop-up blocker intercepting the download. Check your browser’s address bar for a blocked pop-up icon, allow it for the site, and try downloading again.
My logo looks stretched or blurry
Most generators scale your uploaded image to fit a fixed header space. A logo that’s roughly square or wide (rather than very tall) tends to scale more cleanly — if yours looks distorted, try a version with more empty space around the mark itself.
The totals look wrong
Almost always traced back to one of two things: a rate typed with an extra digit, or a tax rate entered in the wrong format (see the mistakes section above). Recheck each line item’s quantity and rate individually rather than only looking at the final total.
When It’s Time to Move Beyond a Free Generator
A free invoice generator is built for one job: producing a single, accurate, professional invoice quickly. If you’re occasionally billing a handful of clients, that’s all you need. It’s worth considering dedicated accounting software instead once you’re regularly sending recurring invoices, need automatic late-payment reminders, or want your invoicing tied directly into bookkeeping and tax reporting. There’s no downside to starting free and switching later — most freelancers do exactly that as their client list grows.
Frequently Asked Questions
How do I use a free invoice generator for the first time?
Open the tool, enter your business details, add your client’s information, list each product or service with its quantity and rate, set your invoice number and due date, then preview and download the PDF. No account is required to complete any of these steps.
Do I need Excel or Word to use an invoice generator?
No. An online invoice generator replaces the need for spreadsheet or word-processing software entirely — all calculations and formatting happen inside the tool itself.
Can I edit an invoice after I’ve already downloaded the PDF?
Not the PDF file itself, but you can go back into the generator, correct the field that was wrong, and download a fresh, corrected PDF. Many freelancers note the correction in the file name (e.g., “INV-014-corrected”) to avoid confusing it with the original.
How do I add my logo to the invoice generator?
Look for an upload or “add logo” option near the business details section. Most generators accept PNG or JPG files and place the logo automatically in the invoice header.
What quantity should I enter for a flat-rate or project-based service?
Use a quantity of 1 and enter your full project rate. This keeps the line item accurate without needing to break a flat fee into artificial hourly units.
How do I make sure my invoice totals are correct before sending?
Use the preview screen before downloading, and manually re-check each line item’s quantity and rate rather than only glancing at the final total — most calculation errors trace back to a single mistyped field.
Is it safe to enter client information into a free online invoice generator?
A tool that doesn’t require an account and processes your details only within your current browser session avoids building an ongoing database of your client information. If you’re billing especially sensitive details, send the finished PDF over a secure, direct channel like email rather than a public link.
Can I use an invoice generator on my phone instead of a computer?
Yes, provided the tool is browser-based and responsive. Fields simply stack vertically on a smaller screen, and the finished PDF is identical regardless of which device created it.
What’s the difference between “quantity” and “rate” on an invoice?
Quantity is how many units, hours, or sessions you’re billing for; rate is your price per single one of those units. The tool multiplies the two automatically to calculate each line’s total.
Fill in your details and download a finished, branded invoice PDF in minutes.
Open the invoice generator →The full checklist on what to include and how to structure an invoice as a freelancer.
Read the invoicing guide →Browse the rest of Toolriz’s free, no-signup tools for freelancers and small businesses.
See all tools →Ready to Create Your Invoice?
Put this walkthrough into practice — fill in your details and download a professional, branded PDF invoice in under five minutes.
Open the Invoice Generator →Looking for more guides like this one? Browse the full Toolriz blog for step-by-step tutorials on every free tool we offer.
This guide is intended for general informational purposes and does not constitute legal, tax, or accounting advice. Invoicing requirements and sales tax rules vary by state and business type — consult a licensed accountant for guidance specific to your situation.