
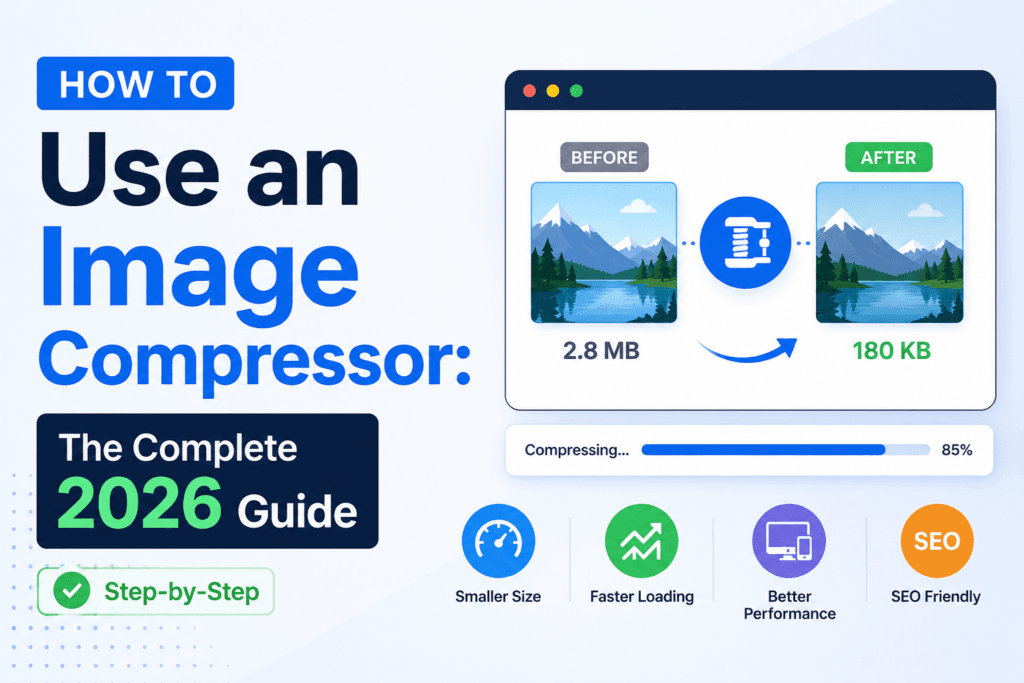
How to Use an Image Compressor: The Complete 2026 Guide (Step-by-Step)
Every website owner eventually hits the same wall. Your site looks great on your local machine, but the moment it goes live, images load slowly, Google flags “Largest Contentful Paint” issues in Search Console, and mobile visitors bounce before the page even finishes rendering. If you have ever typed “why is my website so slow” into Google at 1 a.m., this guide was written for you.
Image compression is one of the few technical SEO fixes that takes minutes to learn, costs nothing, and produces results you can see the same day. This guide walks through exactly how to use an image compressor the right way in 2026 — not just “upload and download,” but the actual decisions that separate a fast, sharp-looking website from a slow, blurry one.
Why Image Compression Still Matters More Than Ever in 2026
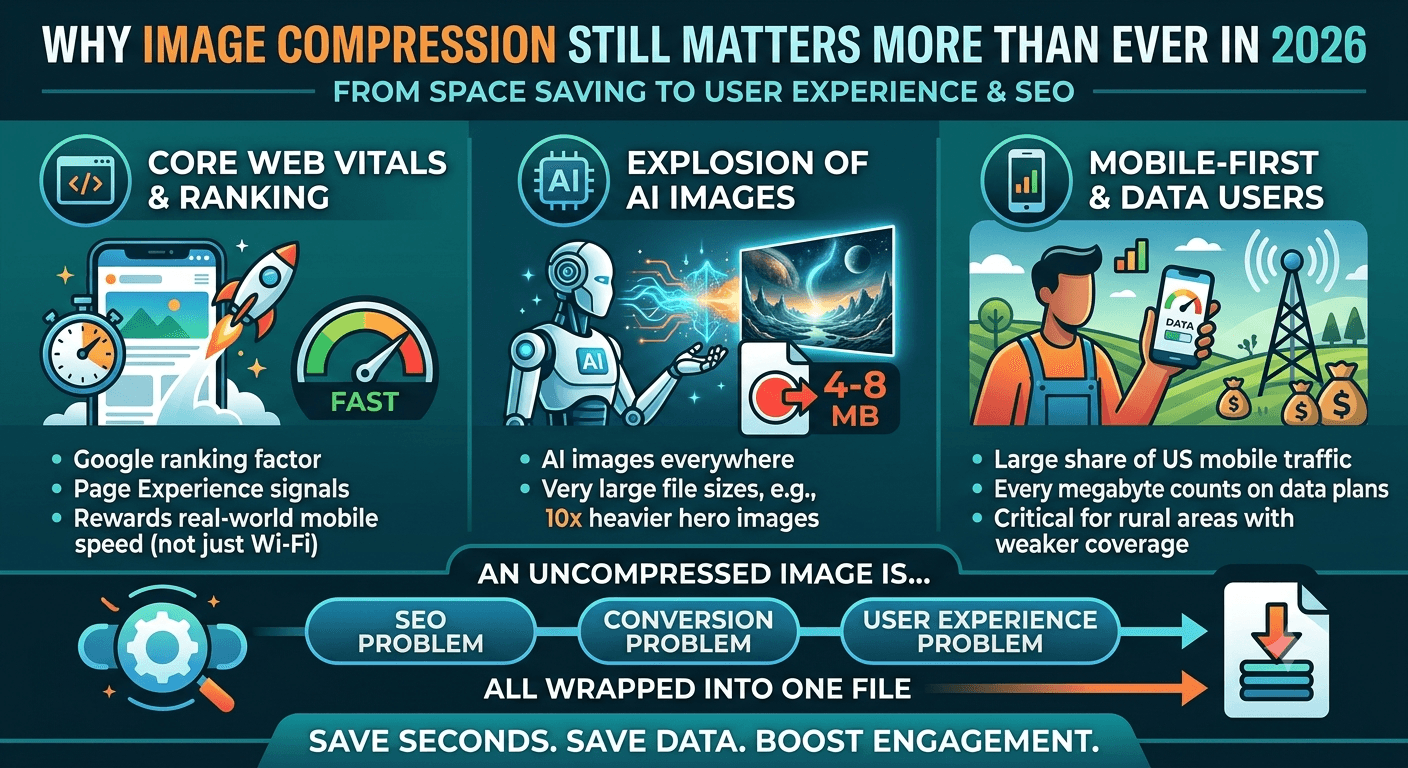
A few years ago, compressing images was mostly about saving disk space. That is no longer the main reason. In 2026, three things changed the game:
- Core Web Vitals are a direct ranking factor. Google’s page experience signals reward pages that load fast on real mobile connections, not just fiber-optic office Wi-Fi.
- AI-generated images are everywhere, and they are huge. A single AI-generated hero image can weigh 4–8 MB straight out of the generator — ten times heavier than a normal photo.
- Mobile-first, data-conscious audiences. A large share of US traffic now comes from mobile data plans where every megabyte counts, especially in rural areas with weaker coverage.
Put simply: an uncompressed image is not just a design problem anymore. It is an SEO problem, a conversion problem, and a user-experience problem, all wrapped into one file.
What an Image Compressor Actually Does (In Plain English)
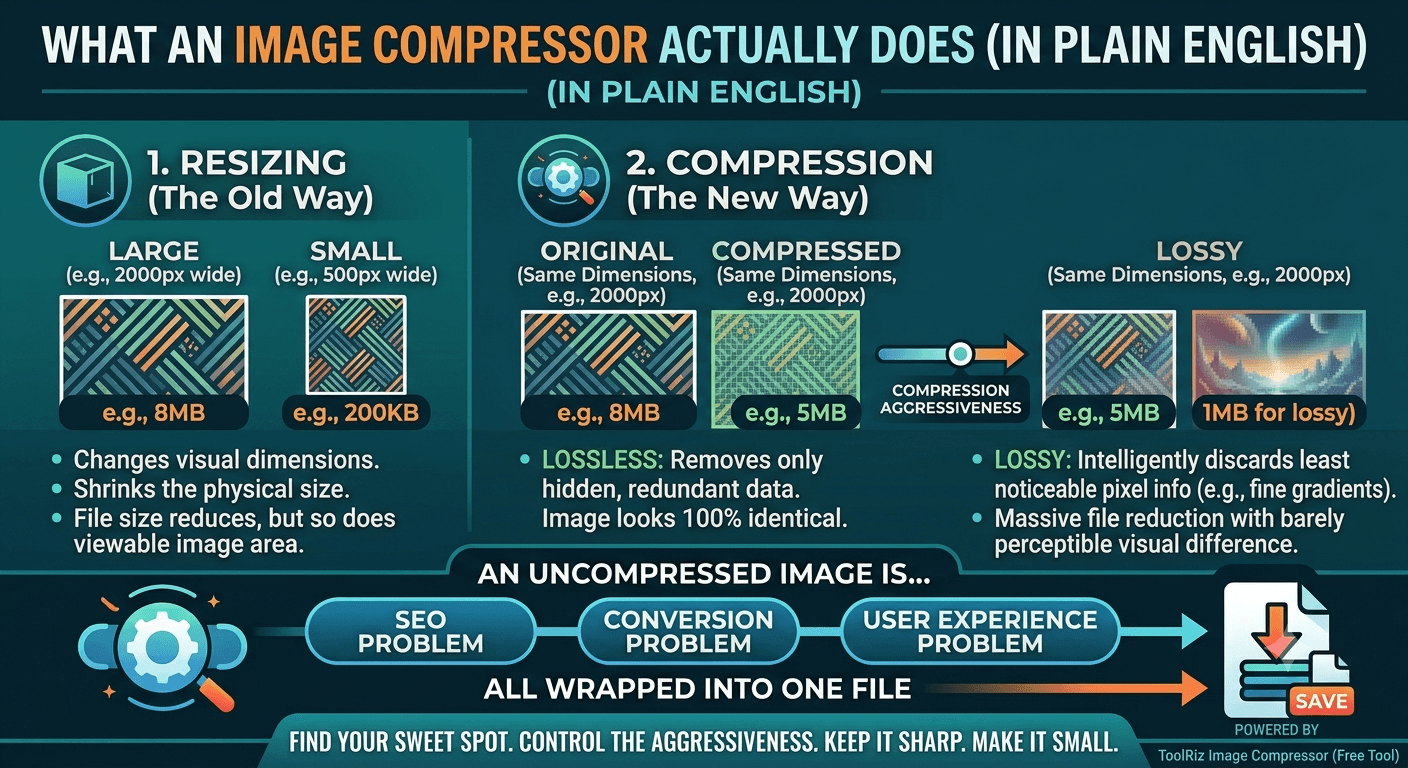
An image compressor does not “shrink” your picture the way resizing does. Resizing changes the dimensions (width and height). Compression reduces the file size while keeping the dimensions the same, by removing data that the human eye barely notices.
There are two approaches:
- Lossless compression — removes only redundant metadata and unnecessary file information. The image looks 100% identical, but the file is somewhat smaller.
- Lossy compression — intelligently discards pixel information the eye is least sensitive to (subtle color gradients, for example), producing much smaller files with a visual difference that is usually impossible to notice at normal viewing sizes.
Most modern tools, including the free Image Compressor on ToolRiz, let you control exactly how aggressive the compression is, so you can find the sweet spot between “small file” and “still looks sharp.”
Step-by-Step: How to Use an Image Compressor Correctly
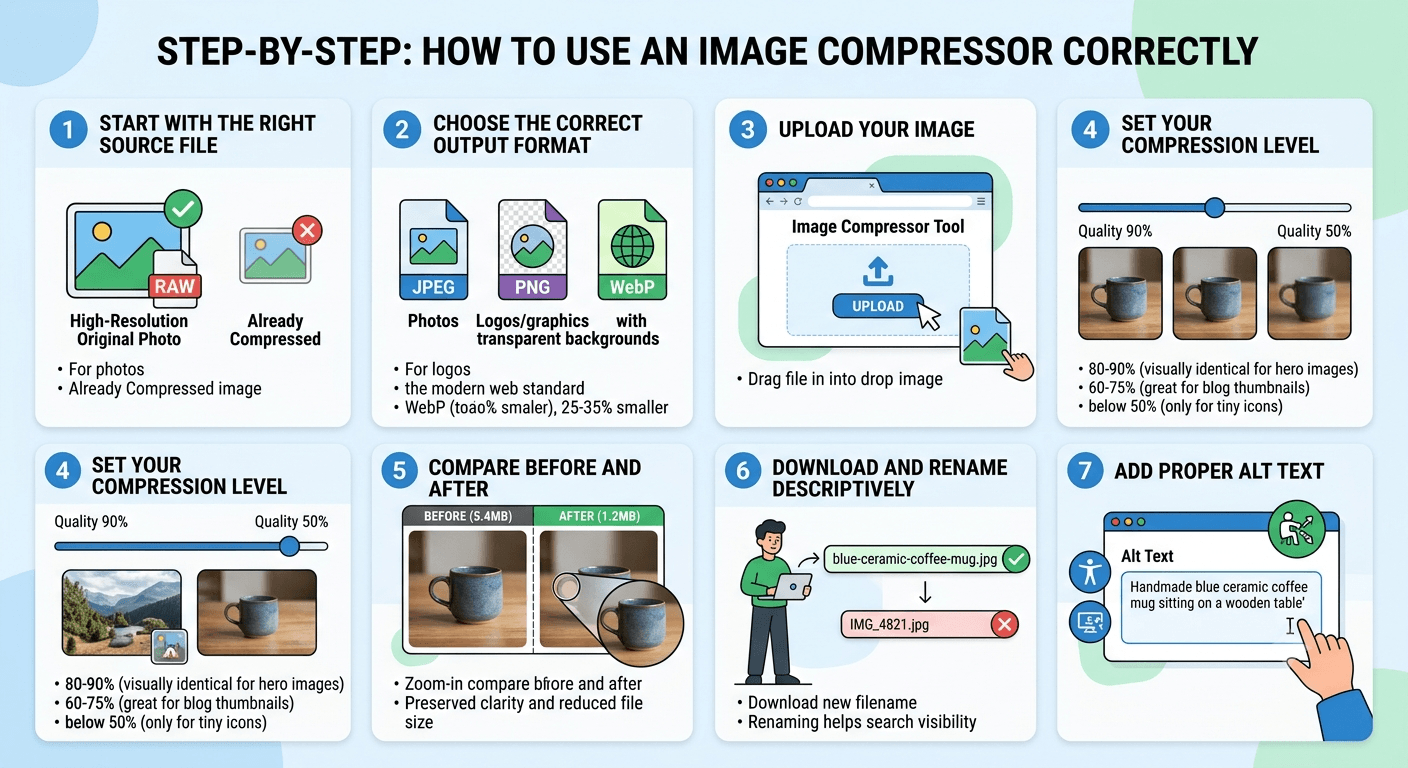
Here is the exact workflow to follow, whether you are compressing one photo for a blog post or fifty images for an online store.
Step 1: Start With the Right Source File
Before you compress anything, check your starting point. If you upload a screenshot that has already been compressed five times by different apps, no tool can rescue the quality. Always compress from the original, highest-quality version of the image you have — a raw export, an original camera photo, or the first download of an AI-generated image.
Step 2: Choose the Correct Output Format
This single decision affects file size more than almost anything else:
- JPEG — best for photographs, product shots, and images with lots of color detail.
- PNG — best for logos, screenshots, and graphics with transparent backgrounds or flat colors.
- WebP — the modern standard for the web. It typically produces files 25–35% smaller than JPEG at the same visual quality, and virtually every browser in 2026 supports it.
If you are not sure, WebP is usually the safest default for anything going on a website.
Step 3: Upload Your Image
Open the Image Compressor tool and drag your file into the upload area, or click to browse your device. Because the tool runs in your browser, there is no waiting for account creation, no software download, and no watermark added to your finished image.
Step 4: Set Your Compression Level
This is the step most people rush — and it is the one that actually determines your result. A good rule of thumb:
- 80–90% quality — visually identical to the original, ideal for hero images, product photography, and anything customers will zoom into.
- 60–75% quality — great for blog thumbnails, background images, and general content images where absolute sharpness is not critical.
- Below 50% quality — only recommended for tiny thumbnails or icons, since compression artifacts (blurring, color banding) become noticeable at larger sizes.
Step 5: Compare Before and After
A reliable compressor will show you a before-and-after file size comparison, and often a visual preview. Zoom in on faces, text, or fine detail inside the image — these are the areas where over-compression shows up first.
Step 6: Download and Rename Descriptively
Once you are happy with the result, download the compressed file. Before uploading it anywhere, rename it with a clear, descriptive filename instead of a generic string like “IMG_4821.jpg.” A filename like blue-ceramic-coffee-mug-handmade.jpg genuinely helps image search visibility, and it costs you ten seconds.
Step 7: Add Proper Alt Text
Compression handles speed. Alt text handles accessibility and search context. Write a short, natural description of what is actually in the image — not a keyword list, just a clear sentence a person could understand if read aloud by a screen reader.
Common Image Compression Mistakes That Quietly Hurt Your Website
Even experienced site owners make these errors:
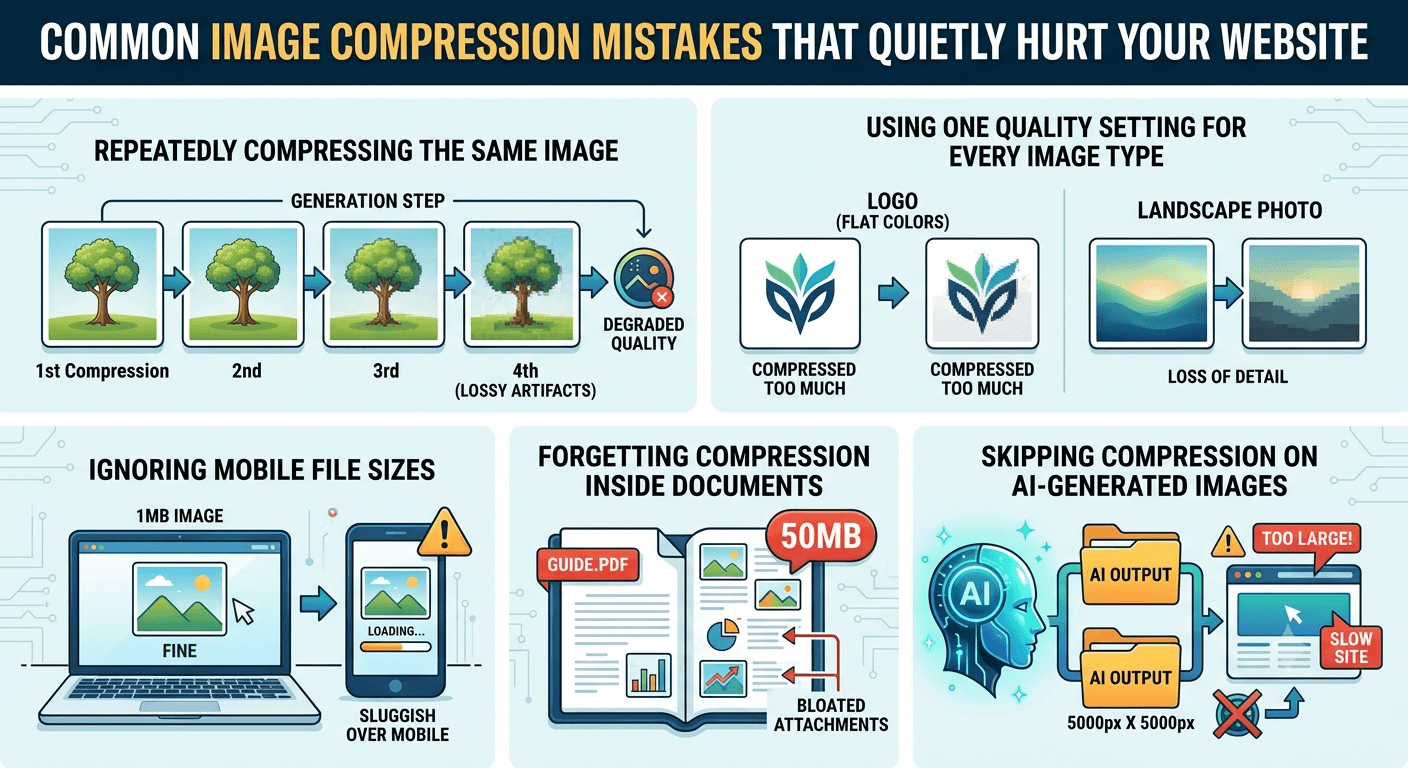
Compressing the same image repeatedly. Every time a lossy file is compressed again, quality degrades further. Always compress from the original source, never from an already-compressed copy.
Using one quality setting for every image type. A logo and a landscape photograph do not behave the same way under compression. Logos with flat colors compress cleanly even at high settings; photos with gradients need a gentler touch.
Ignoring mobile file sizes entirely. A desktop-optimized 1MB image might load fine on a laptop but still feel sluggish over a mobile connection. Always test the compressed result on a phone, not just a monitor.
Forgetting to compress images inside PDFs and documents. Websites are not the only place bloated images hide. Attachments, downloadable guides, and embedded graphics inside documents often carry unnecessary weight too.
Skipping compression on AI-generated images entirely. Because AI image generators often output oversized files by default, skipping this step is one of the most common — and easiest to fix — mistakes site owners make in 2026.
How Much Should You Actually Compress an Image?
There is no single “correct” percentage, but here is a practical framework based on where the image lives:
| Image Use Case | Recommended Approach |
|---|---|
| Website hero/banner image | High quality (80–90%), WebP format |
| Blog post inline images | Medium quality (65–80%), WebP or JPEG |
| Product photography | High quality (85–95%), zoomable detail preserved |
| Email newsletter images | Medium-low quality (50–65%) to keep emails light |
| Social media thumbnails | Medium quality (60–75%) |
| Icons and small UI graphics | PNG, lossless where possible |
The SEO Impact of Faster-Loading Images
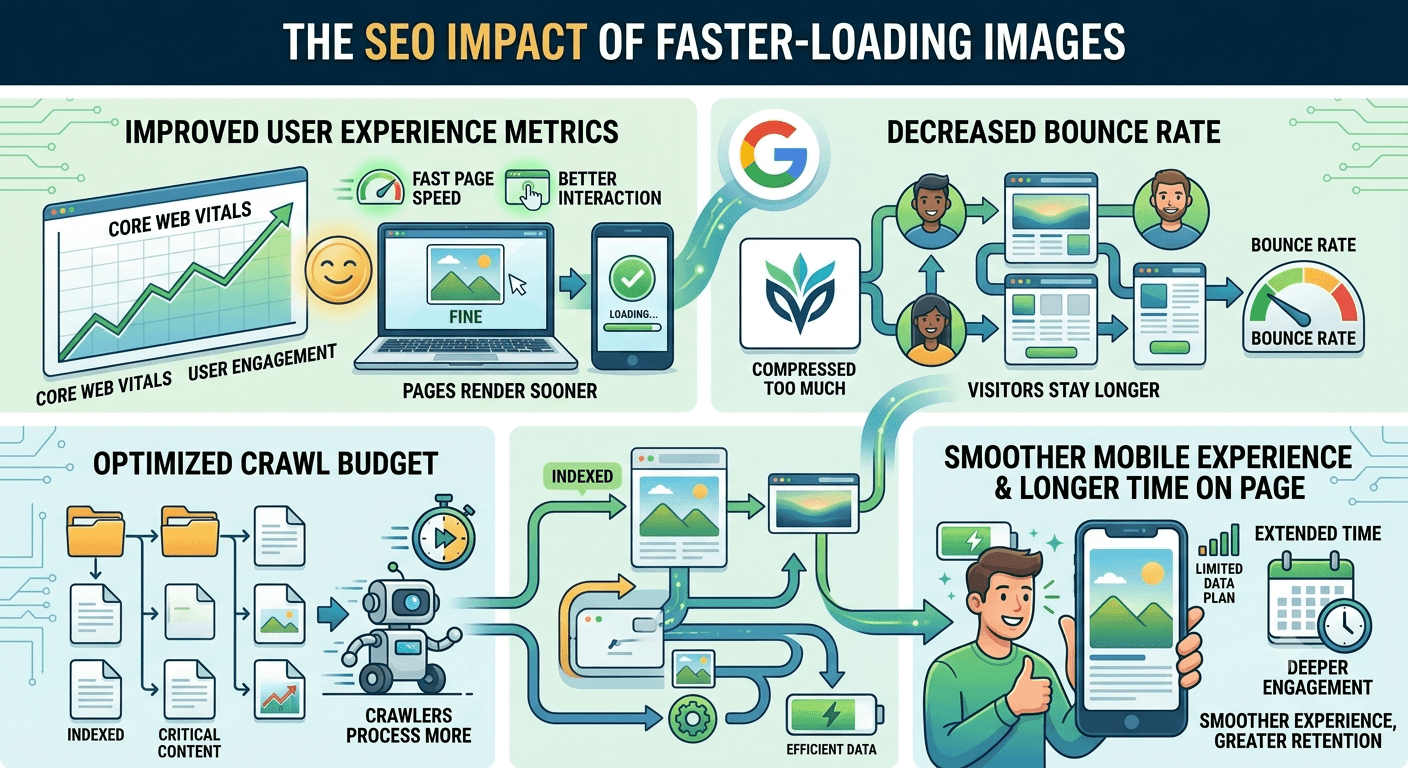
Search engines increasingly reward pages that load quickly and consistently across devices. Heavy, uncompressed images are one of the single biggest contributors to slow page speed, particularly on mobile. When images load faster:
- Pages render sooner, improving the experience metrics search engines track.
- Visitors are less likely to leave before the page finishes loading.
- Crawlers can process more of your site within the same crawl budget, since pages load and respond faster.
- Mobile users on limited data plans have a noticeably smoother experience, which correlates with longer time on page.
None of this requires a developer. It requires knowing how to compress an image correctly, which is exactly what this guide walks through.
Ready to try it yourself? Compress your images instantly with the free Image Compressor on ToolRiz — no signup, no watermark, right in your browser.
Frequently Asked Questions
Lossless compression does not reduce visible quality at all. Lossy compression can reduce quality slightly, but at 80% or higher settings, the difference is typically invisible to the human eye at normal viewing sizes.
WebP is generally the best all-around choice for websites because it delivers smaller file sizes than JPEG or PNG at equivalent visual quality, and it is supported by all major browsers.
As a general target, most content images should stay under 200KB, and hero or banner images under 300–400KB, without sacrificing noticeable visual quality.
Yes. Most modern compressors, including free browser-based tools, support batch uploads so you can compress an entire folder of images in one pass instead of one at a time.
Yes, as long as the tool processes files securely and does not store or reuse your images without permission. Reputable browser-based tools compress files temporarily and do not retain them afterward.
If an image is already under roughly 50–100KB and loads quickly, additional compression usually offers minimal benefit and may start to affect quality unnecessarily.
No — the opposite is true. Properly compressed images typically improve page speed metrics, which supports better search performance rather than harming it.
Final Thoughts: A Five-Minute Habit With a Real Payoff
Image compression is one of those rare technical tasks that is genuinely easy to learn and immediately useful. Once you understand the difference between lossy and lossless compression, know which format fits which situation, and get into the habit of checking file size before you upload anything, you will notice a real difference in how your website feels — faster, cleaner, and more professional.
If you are ready to put this into practice, the free Image Compressor tool on ToolRiz lets you compress images directly in your browser with no signup required. And if you are looking to streamline more of your workflow beyond images, ToolRiz also offers a full collection of free online tools covering everything from file conversion to everyday productivity tasks — all in one place.
Small file, big difference. That is the entire idea behind image compression, and now you know exactly how to do it right.